I’ll be starting from scratch and creating an IAM user with access to an S3 bucket that will be used to store the Pulumi state file. If you’re working in an enterprise setting, your authentication methods may vary.
You can run this command (replacing placeholders as needed) if you already have an S3 bucket and AWS credentials configured on your machine:
| |
This post assumes you have the Pulumi CLI installed. Check out the following guide if you don’t have it installed: Download & install Pulumi.
Creating an S3 Bucket
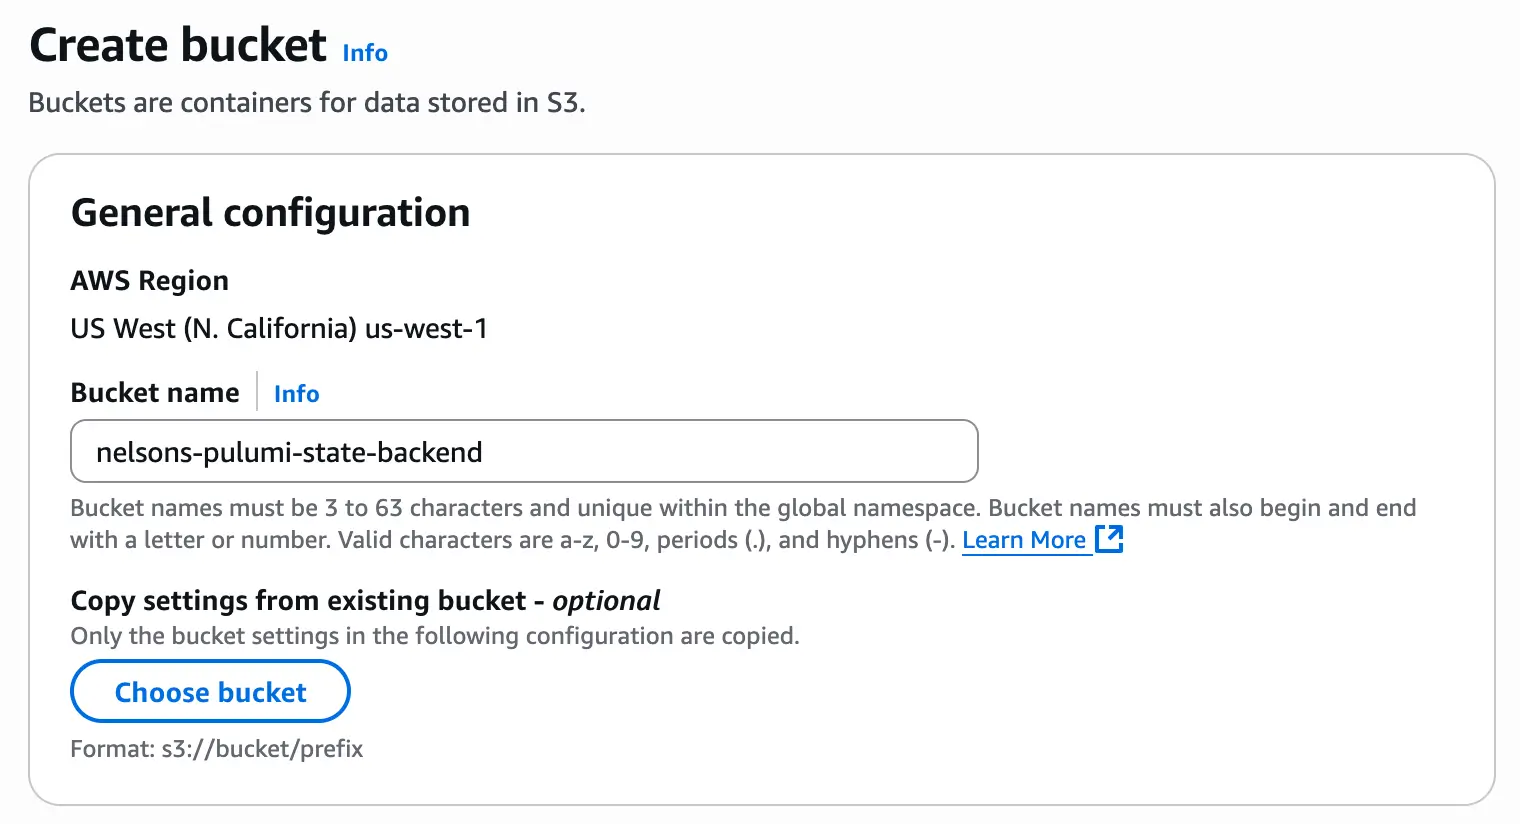
First, we need to create the S3 bucket where the Pulumi state file will be stored. I created a bucket called nelsons-pulumi-state-backend and left all the default settings as-is.
Creating an IAM User
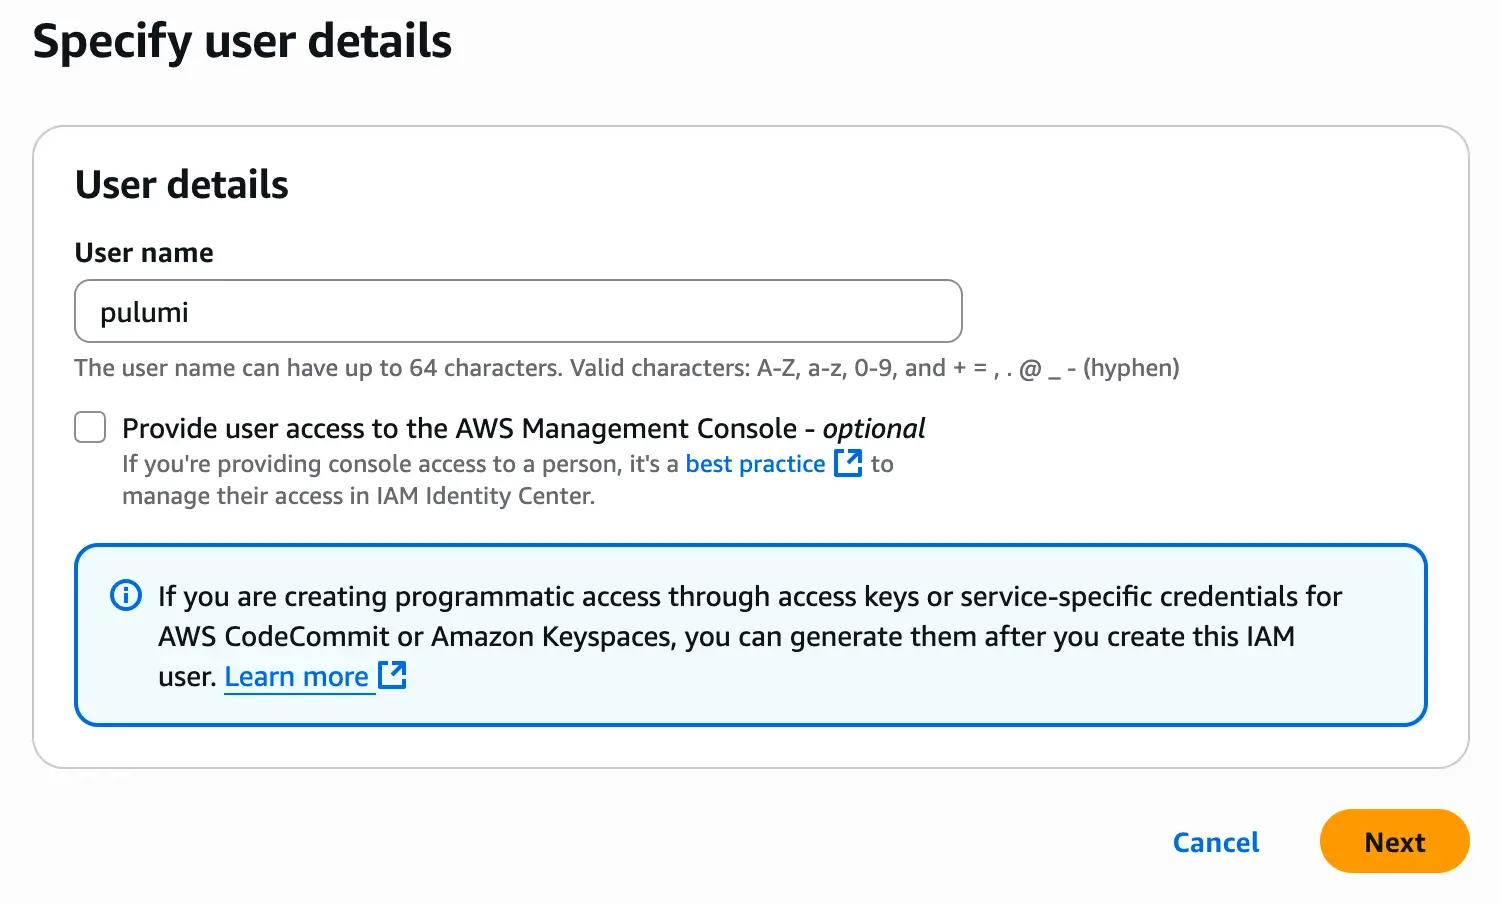
Then we need to create an IAM user in AWS that the Pulumi CLI can use. This IAM user needs permissions to access the S3 bucket we just created.
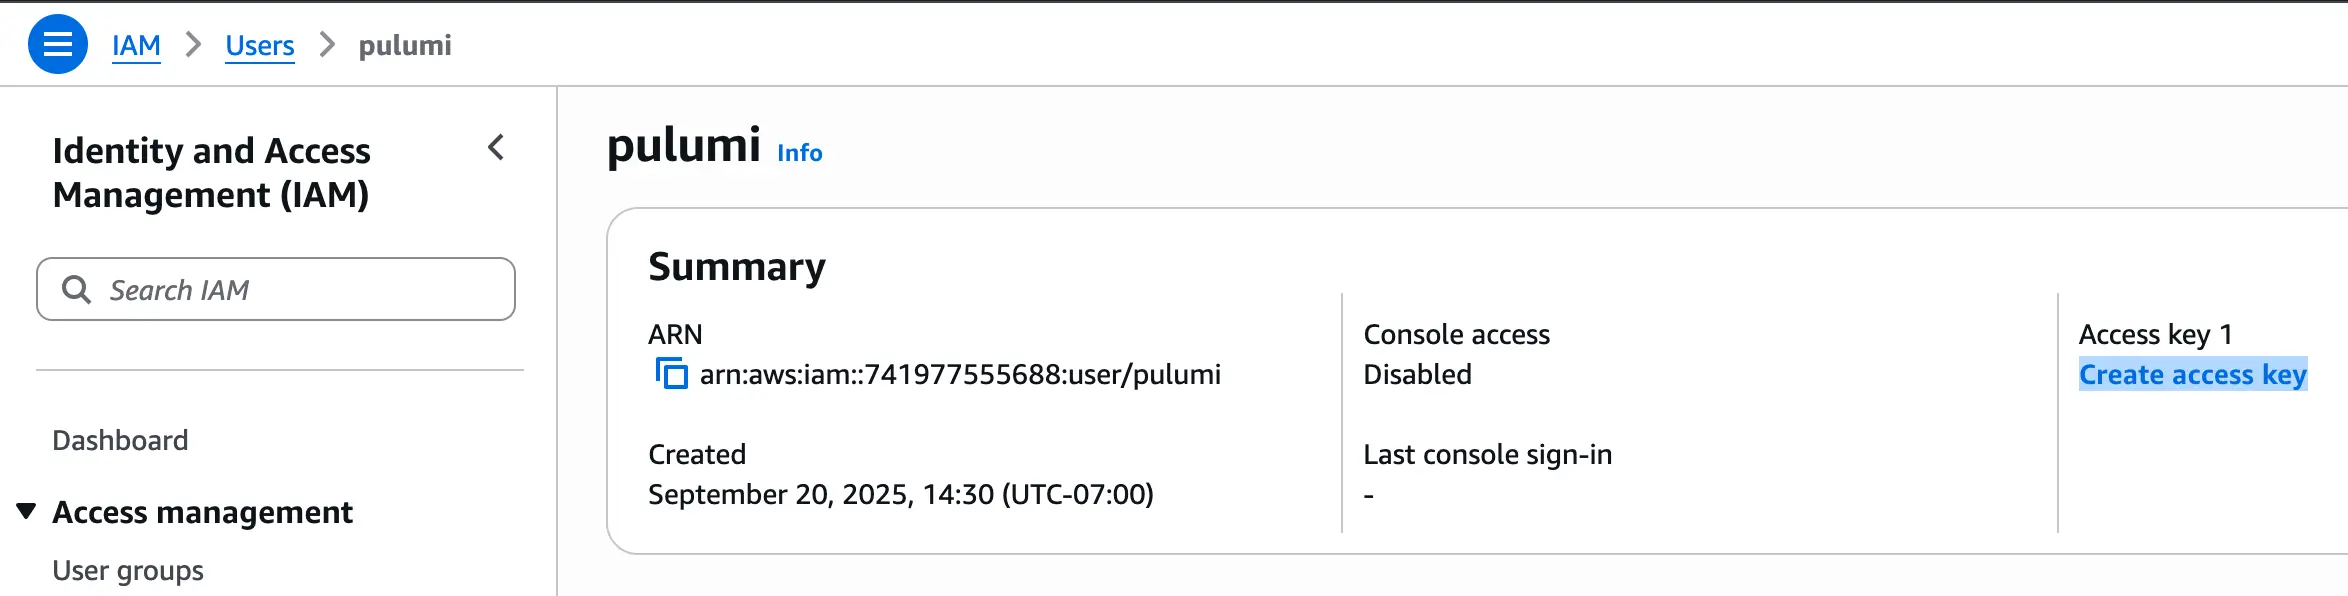
I go to IAM and create a new user. I just called it pulumi:
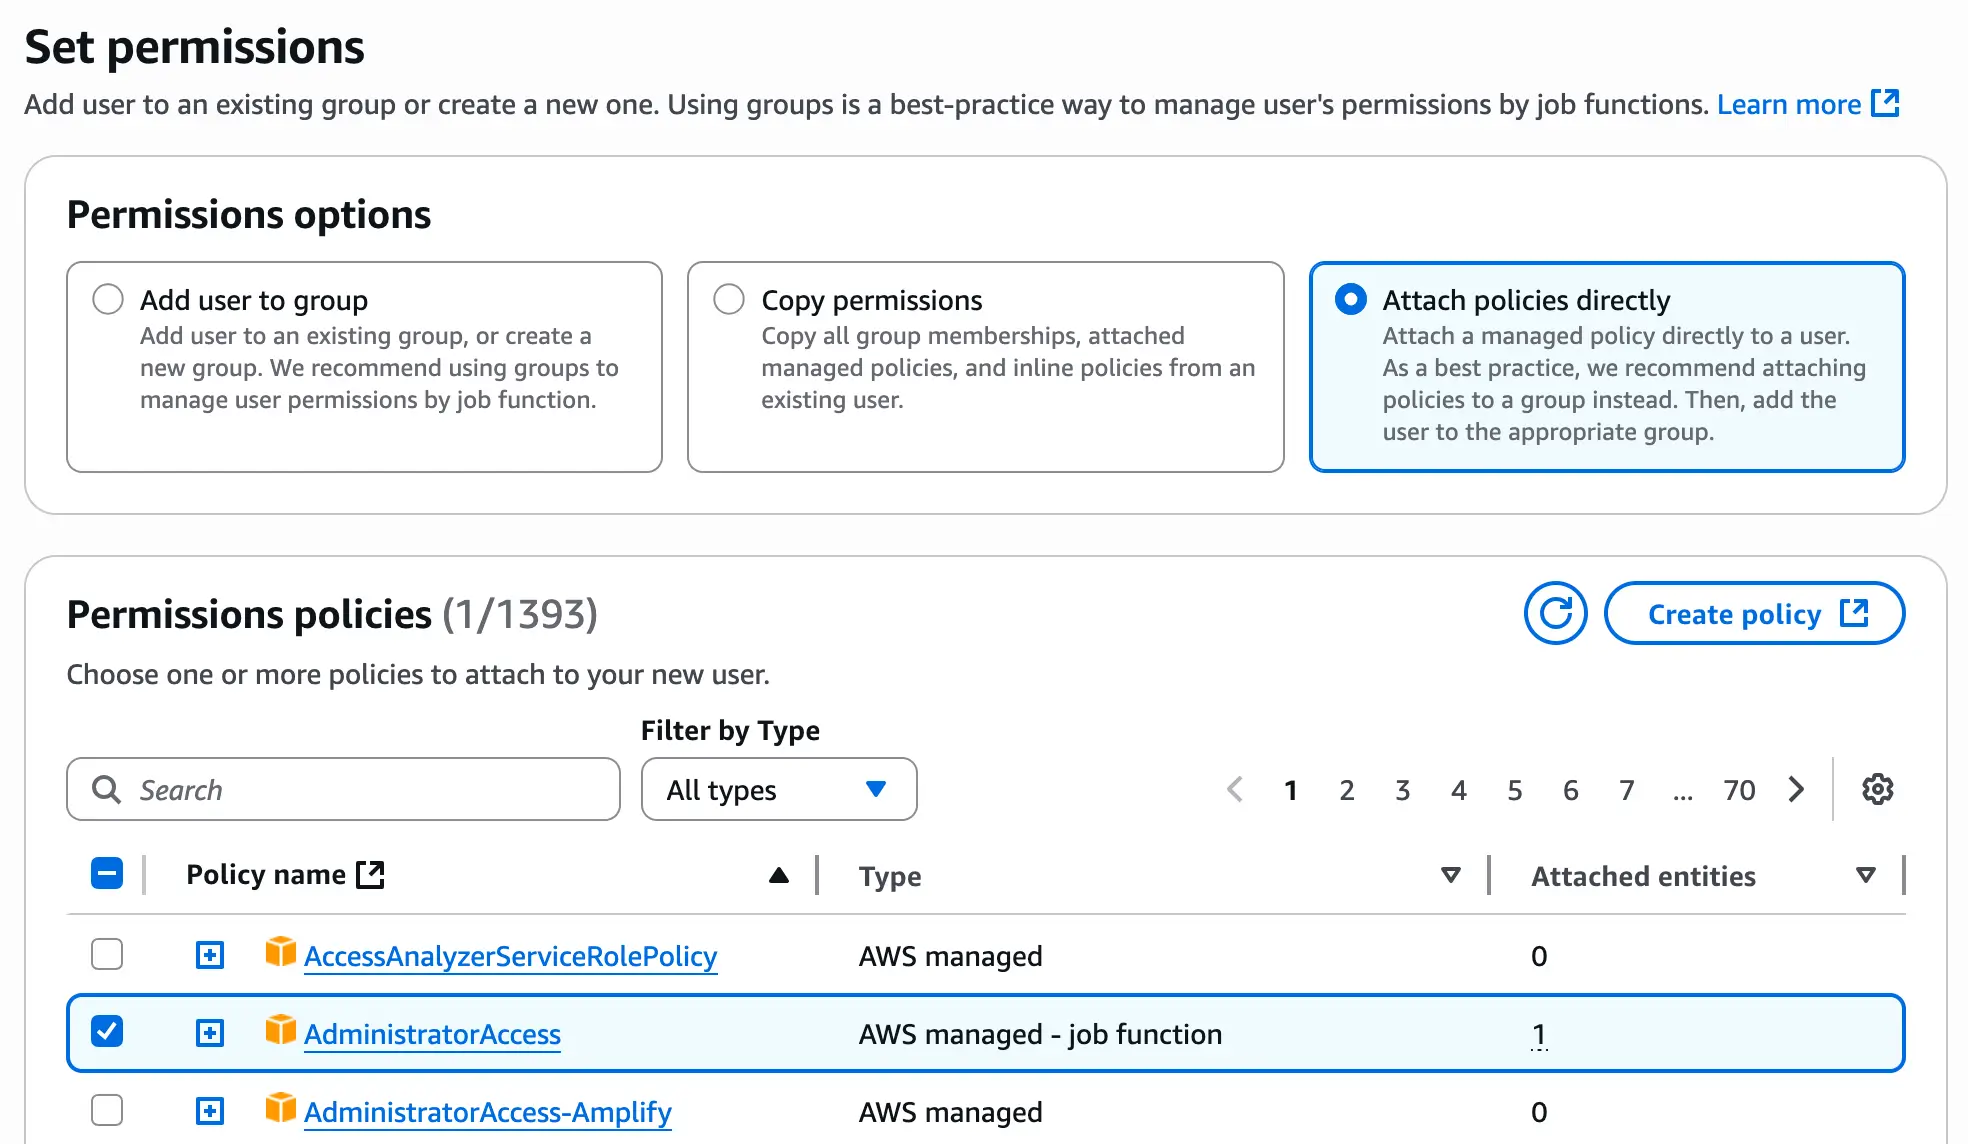
Then in the next step, I selected “Attach policies directly” and selected the AWS-managed “AdministratorAccess” policy just to keep things simple. You can provide more fine-grained access depending on your needs. Then click “Next” at the bottom.
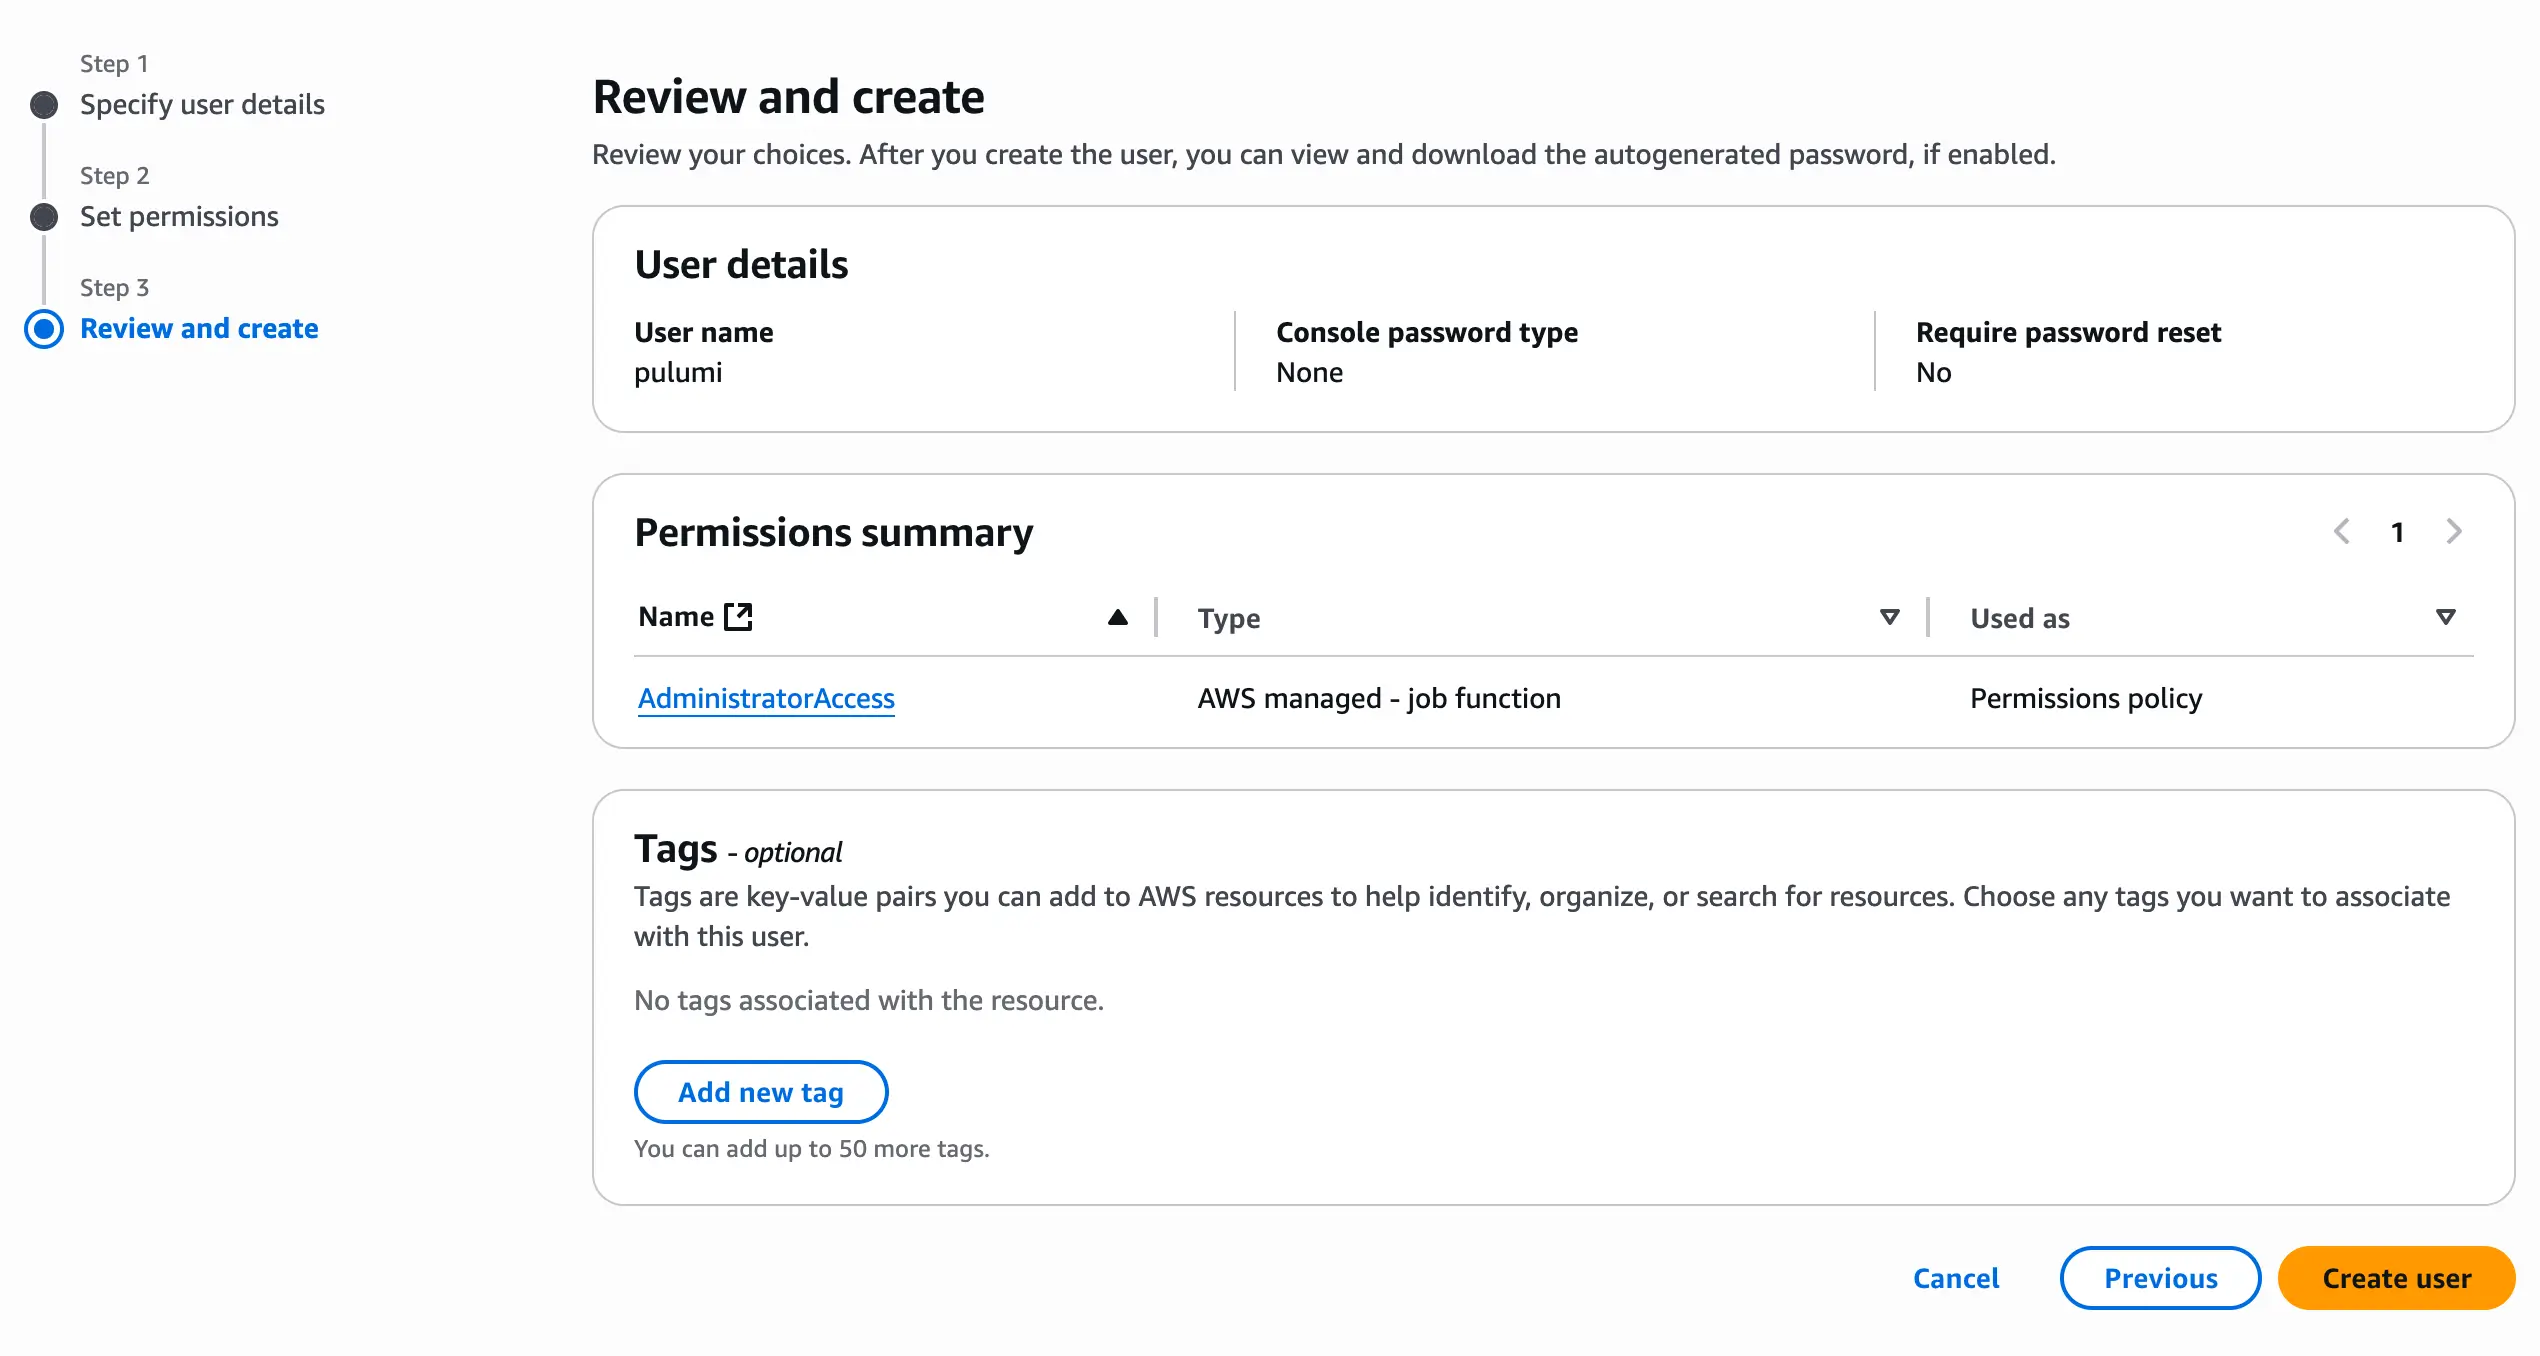
In the next screen, double check everything and then click on “Create user”.
Now that we have a user with the appropriate permissions, we’ll need to get an AWS access key and secret to use with the Pulumi CLI.
Go to your IAM user and click on “Create access key” on the right side.
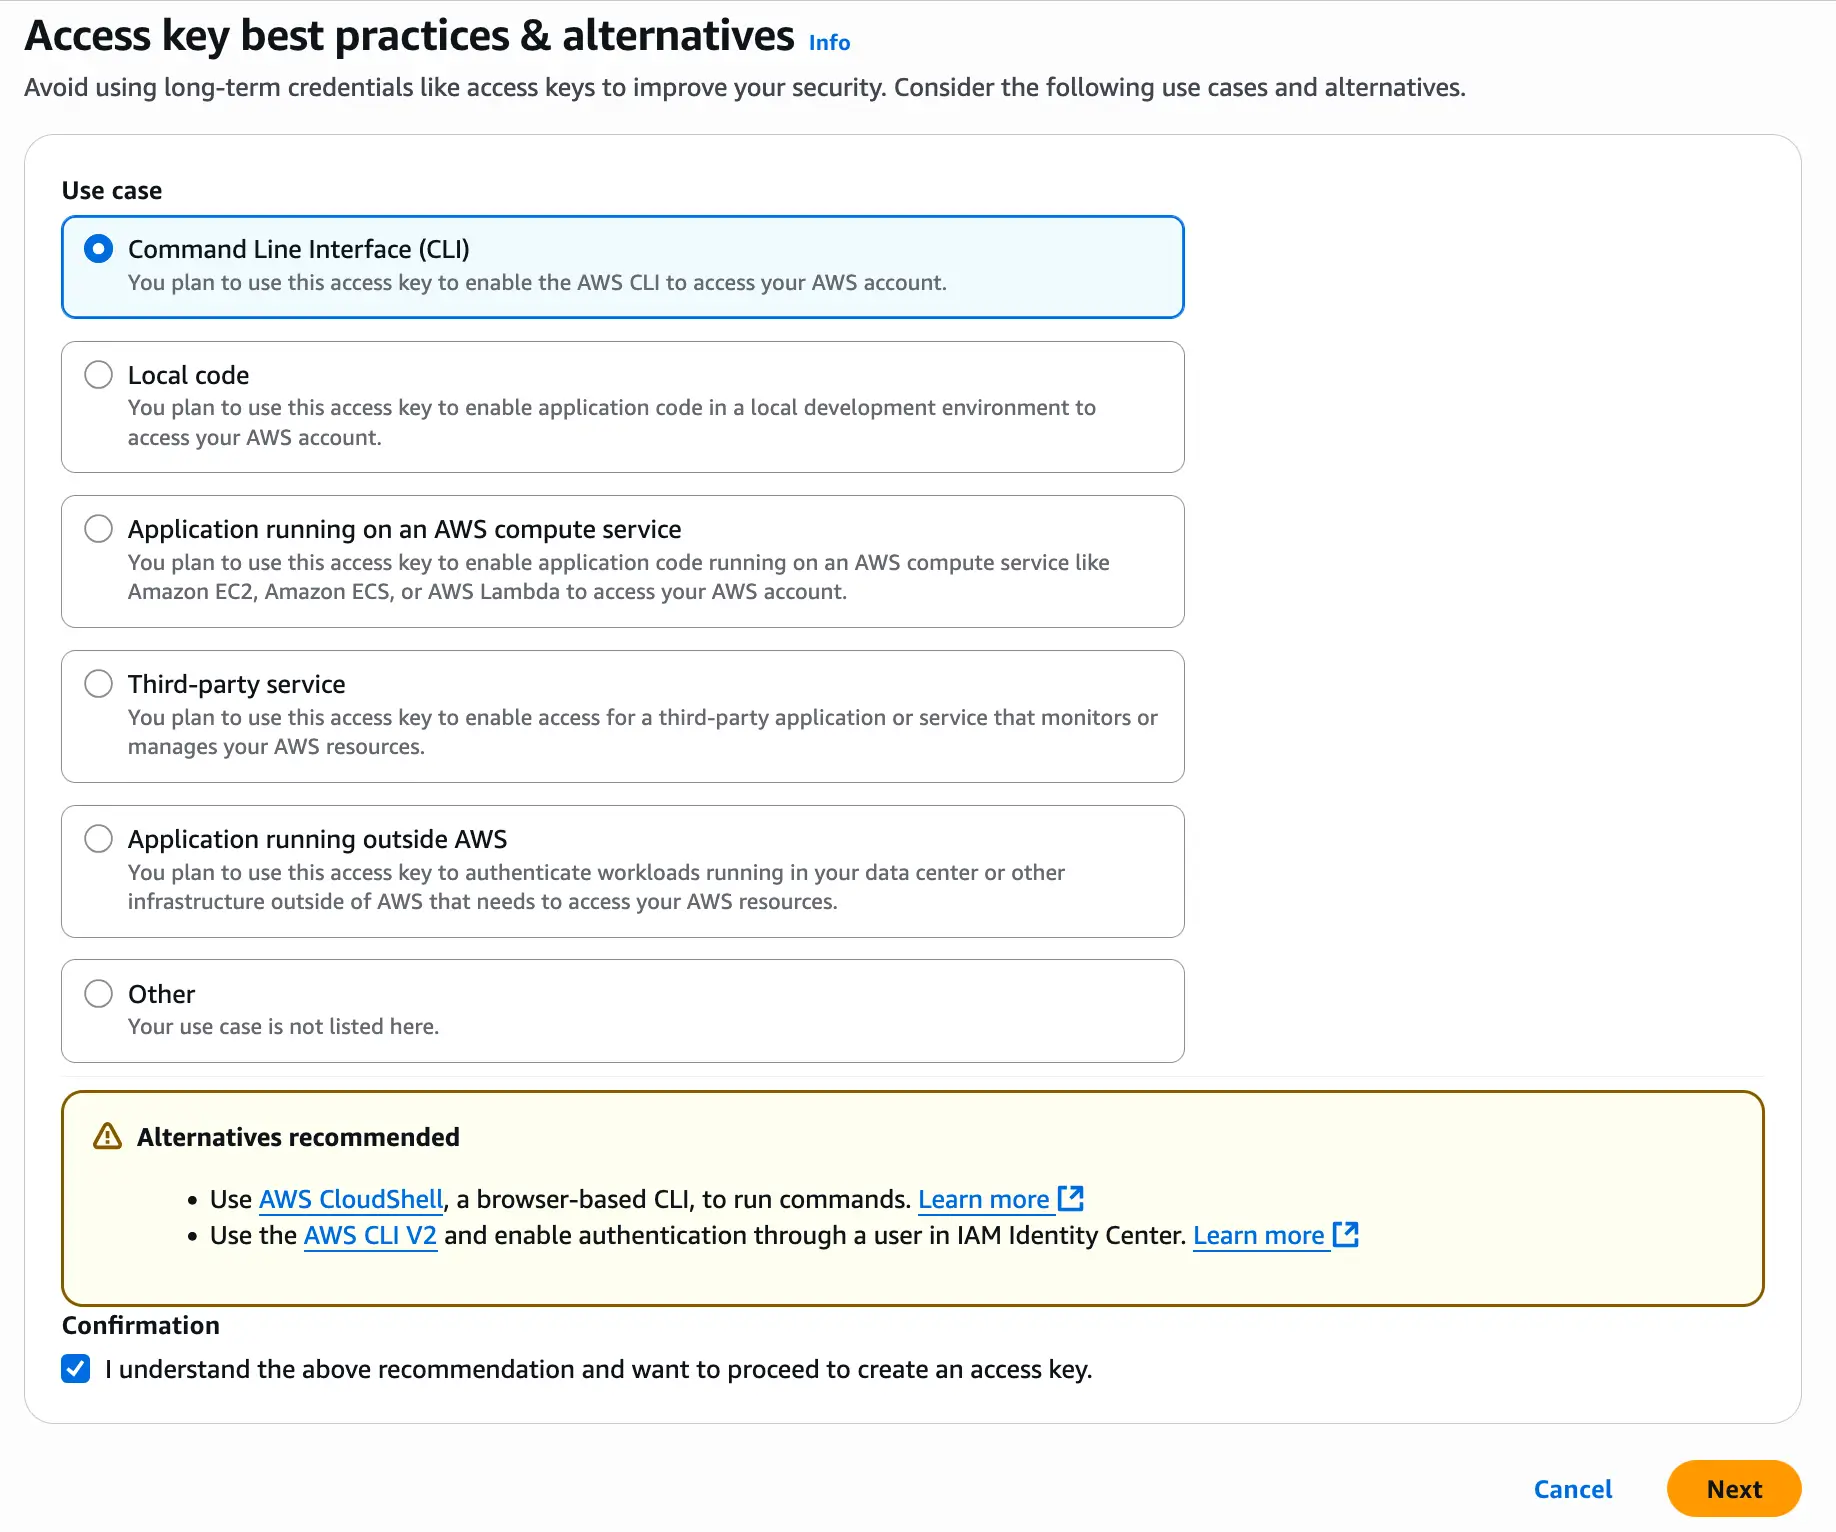
In the next screen, select “Command Line Interface (CLI)”. Check the box at the bottom, then click “Next”.
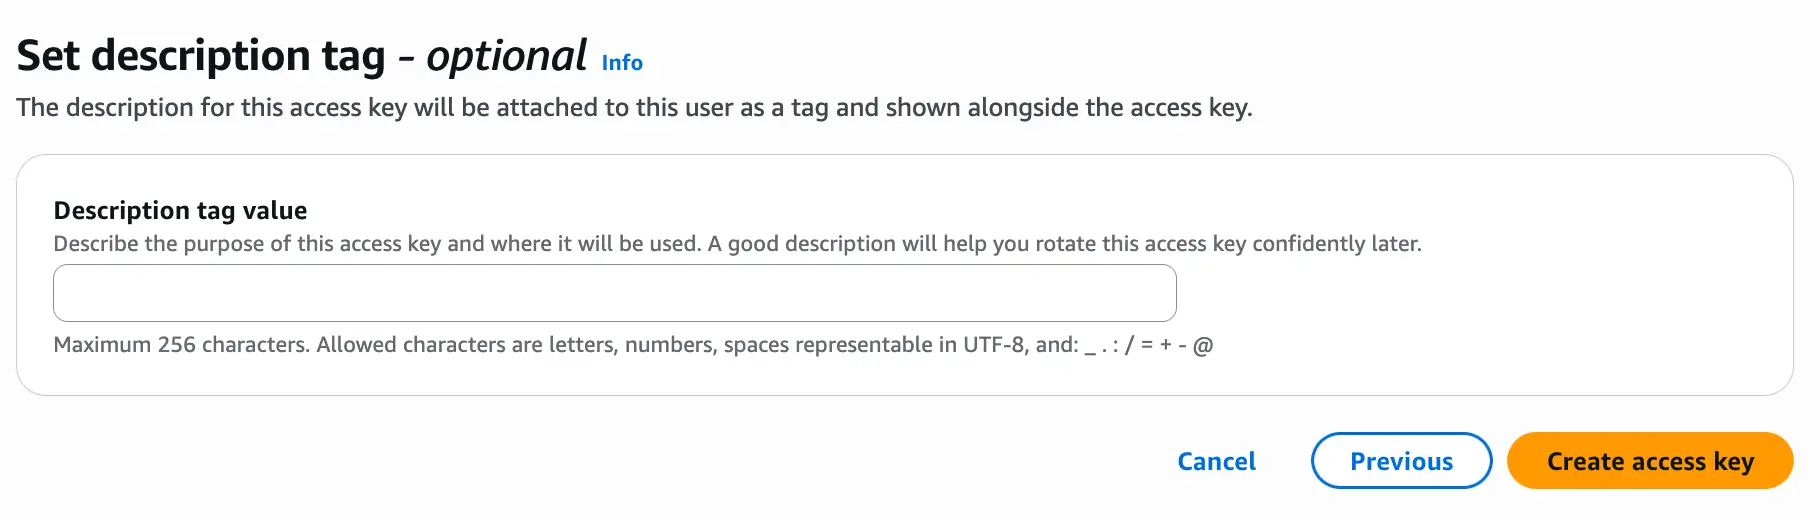
The next screen will ask for setting a description tag. This is optional. I chose to skip it and clicked on “Create access key”.
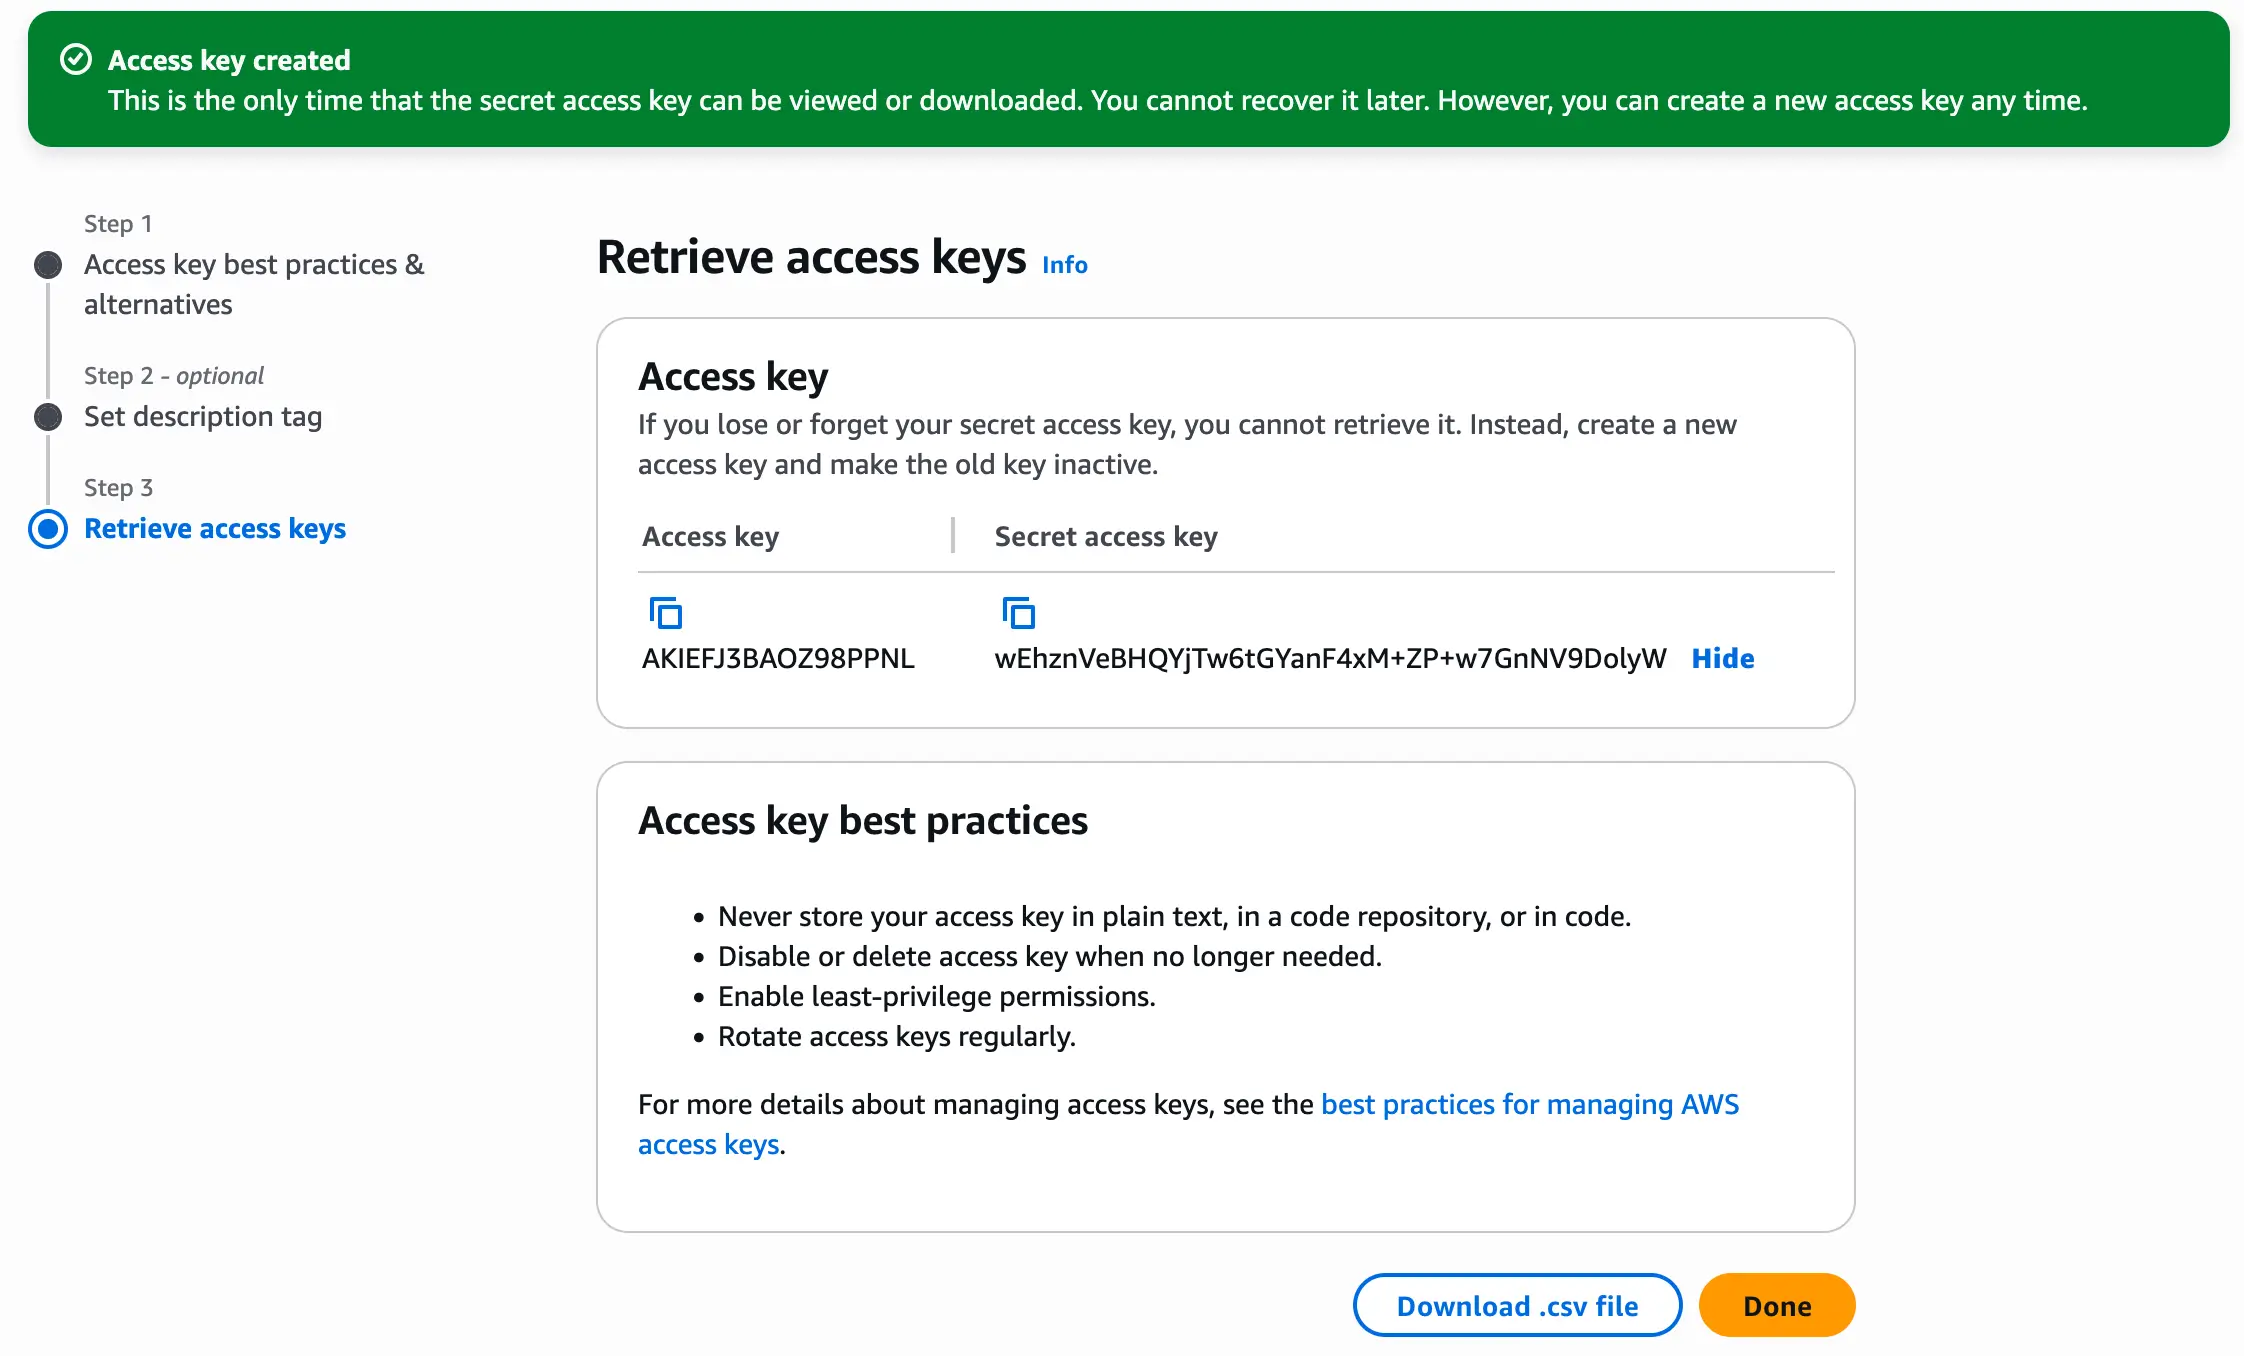
We finally have our Access key and Secret access key. Save these somewhere safe and click “Done”. (Don’t worry, the credentials in the screenshot are fake.)
Setting Up AWS Credentials for the Pulumi CLI
Now we can try using these credentials to tell the Pulumi CLI to use the S3 bucket as a backend.
Create the file ~/.aws/credentials if you don’t have it. Then add in your credentials there under the [default] profile. (You can add more profiles, but this is beyond the scope of this post.)
[default]
aws_access_key_id = <key_id>
aws_secret_access_key = <access_key>
You’ll need the bucket’s region and your local AWS profile name to use S3 as a backend.
The command formula looks like this:
| |
In my case, the command looks like this (make sure to edit for your needs):
| |
A successful login shows the following message:
Logged in to 0x6E.local as nelson (s3://nelsons-pulumi-state-backend?region=us-west-1&awssdk=v2&profile=default)
Alternatively, you can add your backend to your Pulumi.yaml file. This is useful if you’re working on multiple Pulumi projects that each have different backends. You won’t need to run pulumi login all the time. Just add a backend key and a nested url key:
| |
More information here: Pulumi project file reference.
Testing The Setup
Finally, it’s time to test this out.
To demonstrate, I created a simple Pulumi program by running:
| |
You can choose whatever language you want though.
This is the main Pulumi code that is generated. It’s code for creating an S3 bucket:
| |
Then I ran pulumi up -y and it worked!

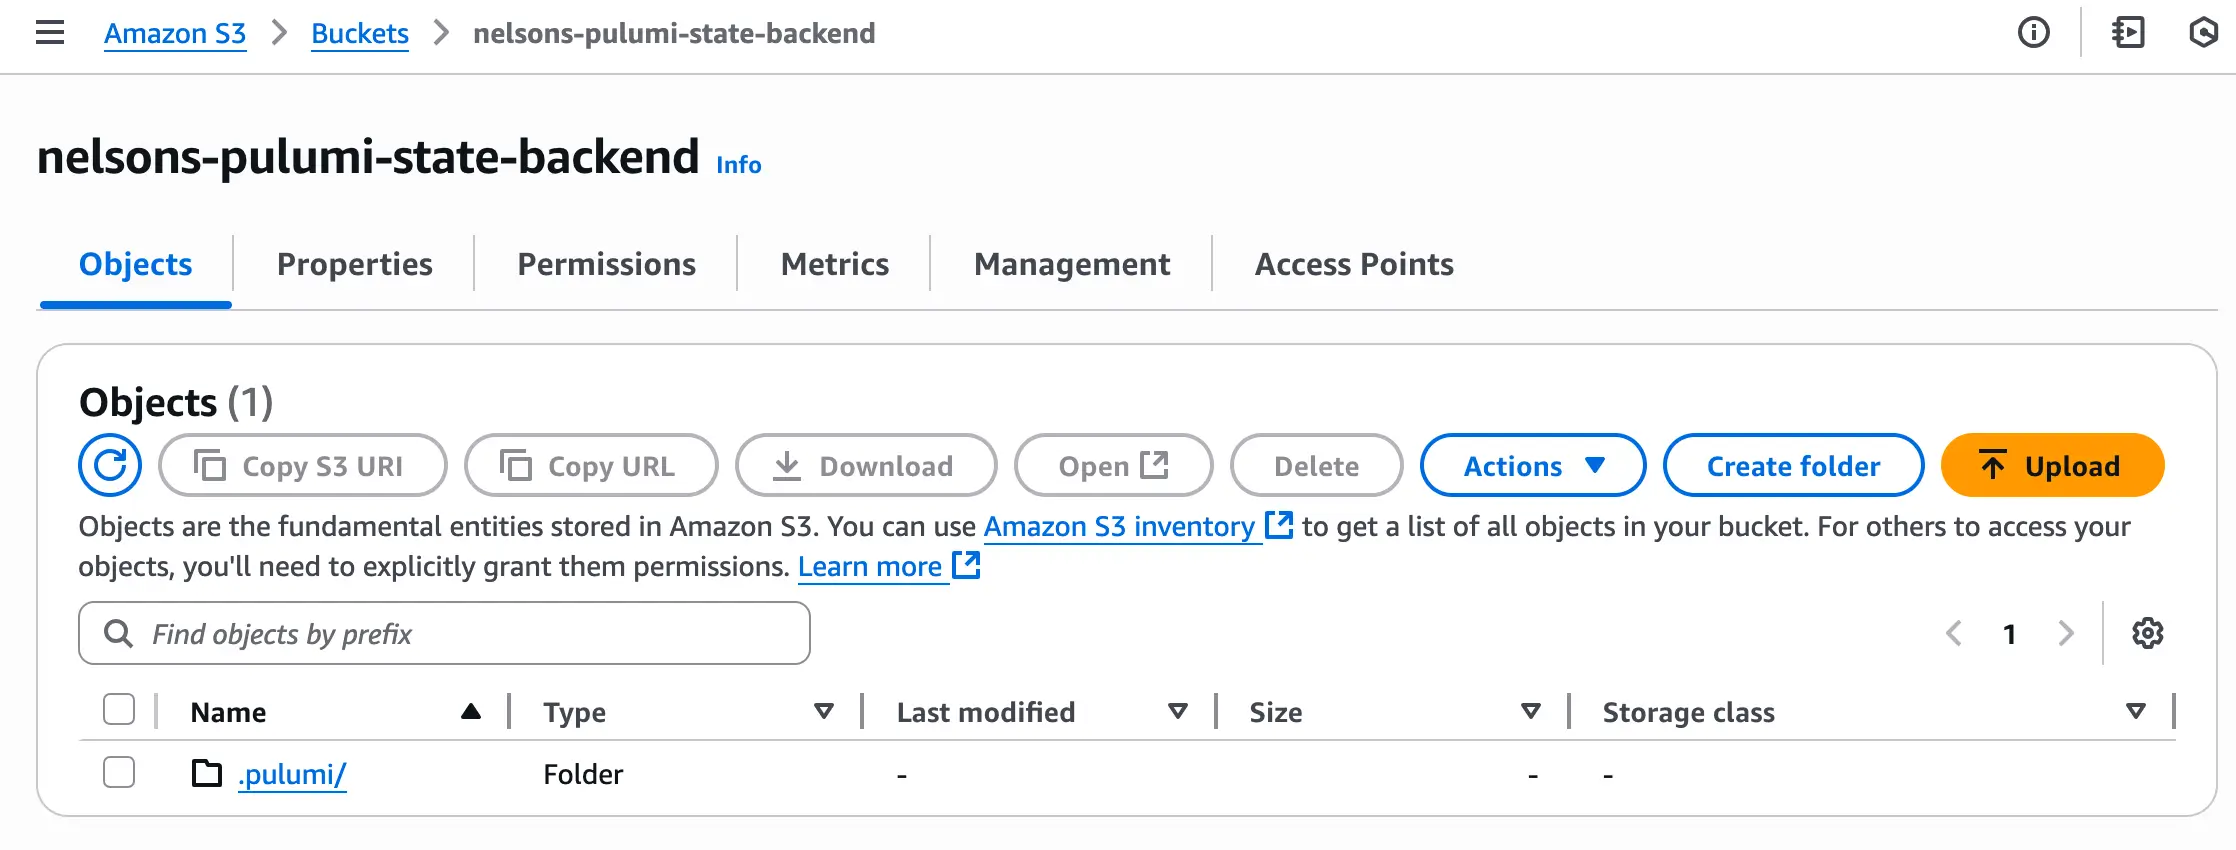
And just to double check, I can see that my previously empty S3 bucket now has contents created by the Pulumi CLI:
References
- https://www.pulumi.com/docs/iac/download-install/
- https://www.pulumi.com/registry/packages/aws/installation-configuration/
- https://www.pulumi.com/docs/iac/concepts/state-and-backends/#aws-s3
- https://www.pulumi.com/docs/iac/concepts/projects/project-file/
- https://ashoksubburaj.medium.com/pulumi-with-aws-s3-as-backend-ac79533820f1